
The Problem:
A homeowner in Massapequa, NY contacted Zavza Seal about a sinkhole that had developed beneath an asphalt surface.
The sinkhole was visible in the area identified during our inspection, but the problem was not limited to the surface.
According to the report prepared by our Senior Estimator and Project Manager, the sinkhole was caused by voids developing beneath the asphalt. These underground voids can grow over time as soil and supporting material are lost or displaced.
The property had also been repaired in the past, but the previous repair had failed. This showed that simply filling or patching the visible depression had not addressed the underlying ground condition.
Our team recommended opening the affected area, removing compromised material and rebuilding the supporting ground before repairing the asphalt surface.
Our Solution:
Zavza Seal developed a repair plan that focused on the material beneath the asphalt as well as the damaged asphalt itself.
The work included:
- Cutting and removing damaged asphalt
- Excavating compromised soil
- Adding RCA, gravel and soil as needed
- Compacting the ground after each application
- Installing a new cold asphalt patch
Step 1: Removing the Damaged Asphalt
Our team first cut the asphalt around the sinkhole as needed.
The goal was to remove the damaged section and expose the area below it. This allowed our crew to inspect the underlying ground and work on the actual cause of the surface failure.
Leaving unstable asphalt over a void would not have provided a reliable long-term repair.
Step 2: Excavating the Compromised Soil
Once the damaged asphalt was removed, our crew excavated the area as necessary.
The objective was to remove soil that had been compromised by the underground voids and was no longer providing adequate support.
The amount of excavation depended on the conditions found beneath the asphalt.
Step 3: Rebuilding the Ground
After removing the compromised material, Zavza Seal added recycled concrete aggregate (RCA), gravel and soil as necessary to rebuild the affected area.
These materials were placed as needed to help restore the ground structure below the asphalt.
The repair was not simply a matter of filling the visible depression. The supporting material beneath the surface had to be rebuilt and properly compacted.
Step 4: Thorough Compaction
Compaction was an important part of this sinkhole repair.
Our team used a commercial heavy-duty compactor to thoroughly compact the ground after each material application.
Applying and compacting the fill in stages helps create a denser and more stable base.
This step was especially important because the previous repair had failed. The goal was to create a properly supported surface before installing the new asphalt.
Step 5: Installing New Asphalt
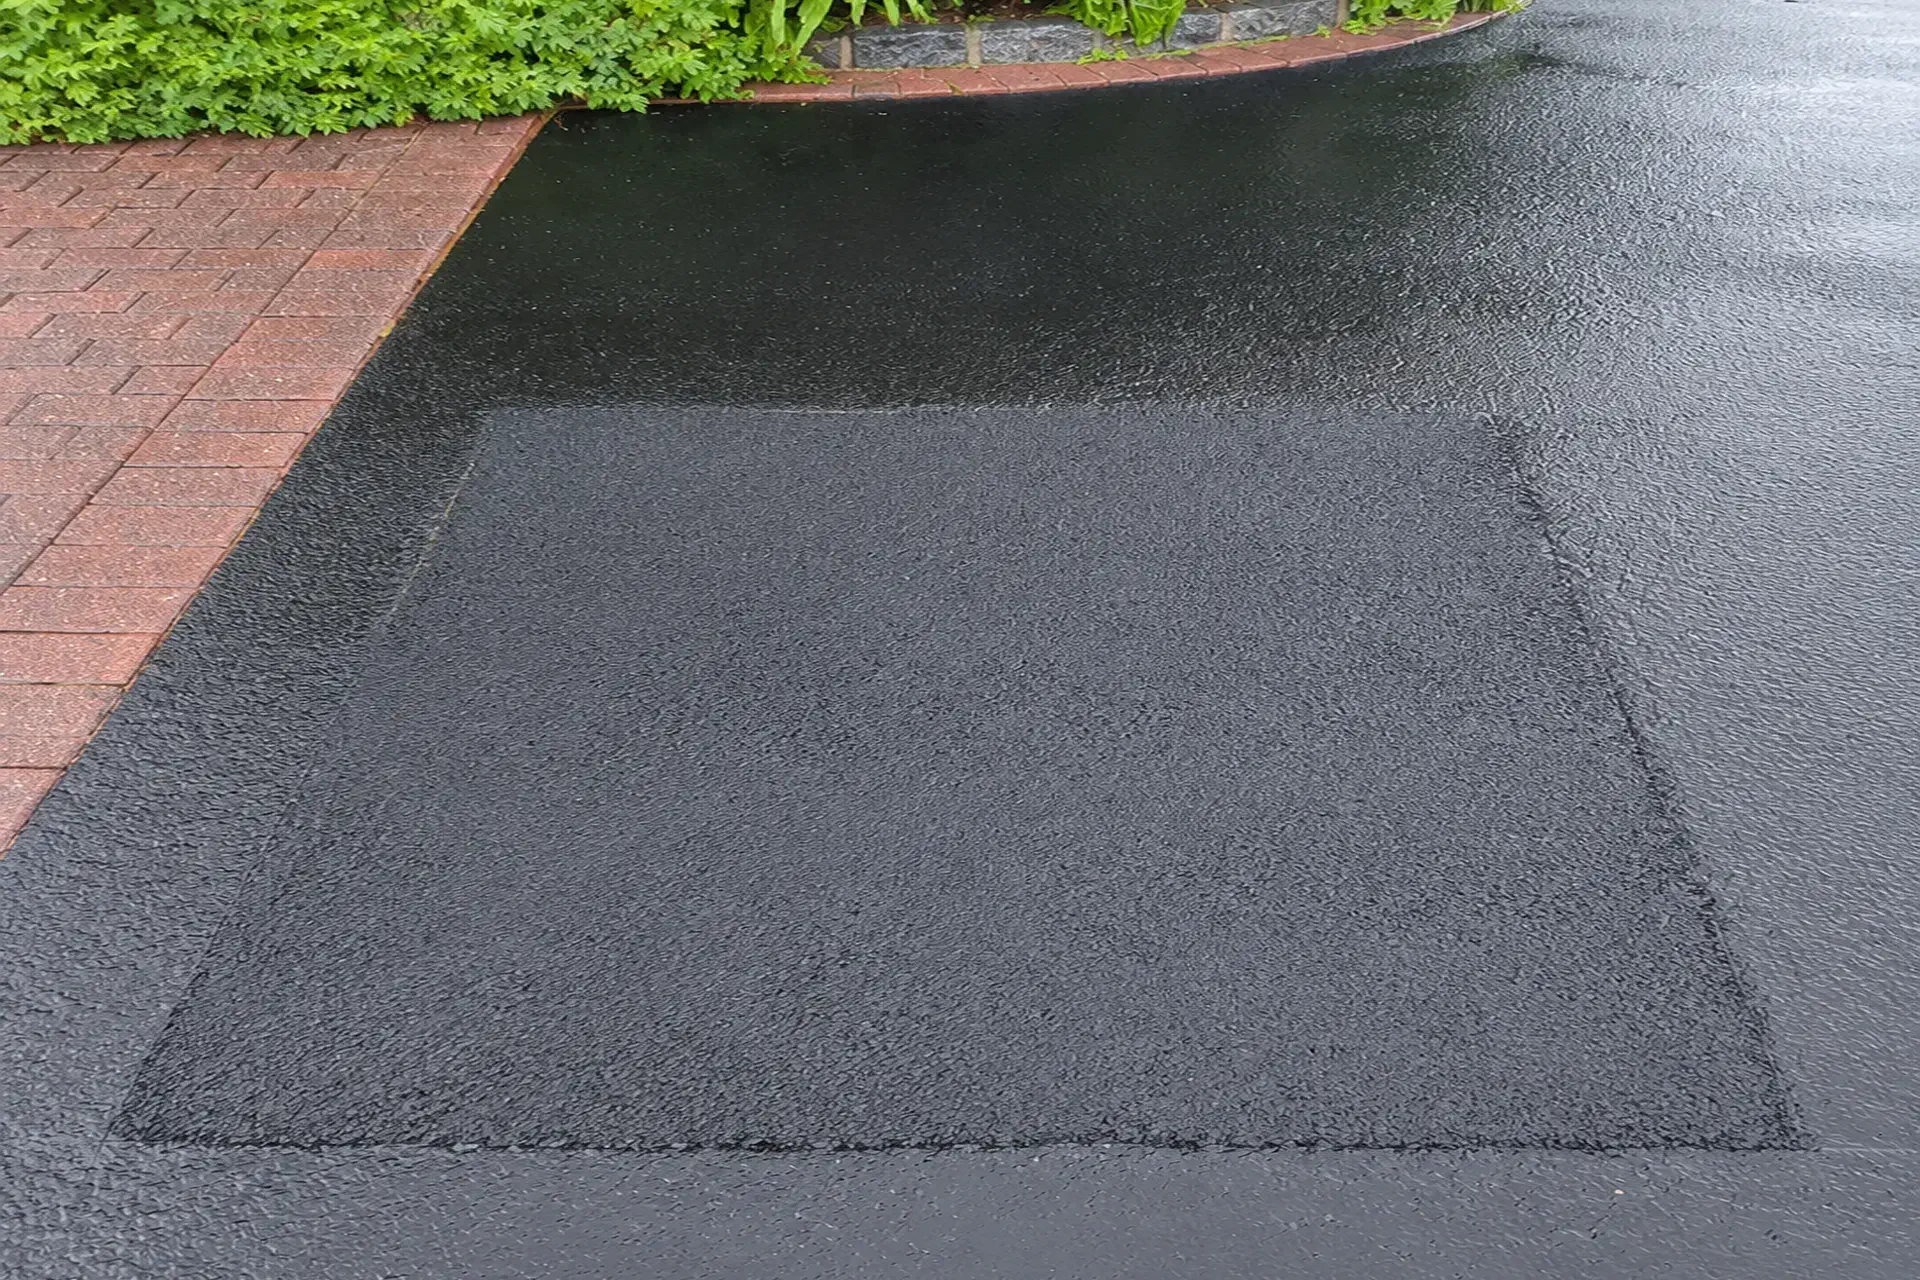
After the underlying area was rebuilt and compacted, our crew installed a new cold patch of asphalt to finish the repair.
The new asphalt restored the affected surface and covered the repaired ground below.
The Result:
Zavza Seal repaired the failed asphalt area over the sinkhole in Massapequa by addressing the unstable material beneath the surface.
The repair included removal of damaged asphalt, excavation of compromised soil, placement of RCA, gravel and soil as needed, and thorough compaction using commercial equipment.
Once the ground was stabilized, a new cold asphalt patch was installed.
The project was designed to address the underlying ground conditions instead of simply covering the visible depression.