Before
After
Basement Waterproofing
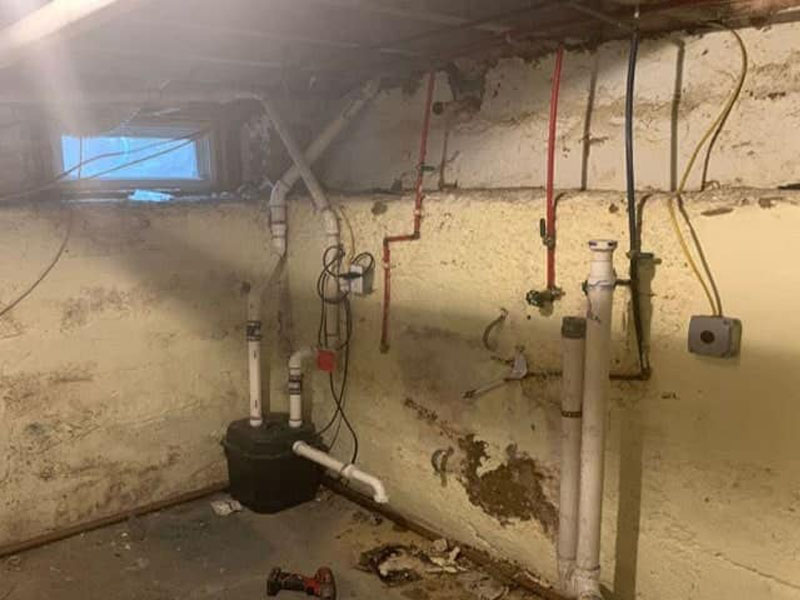
Before
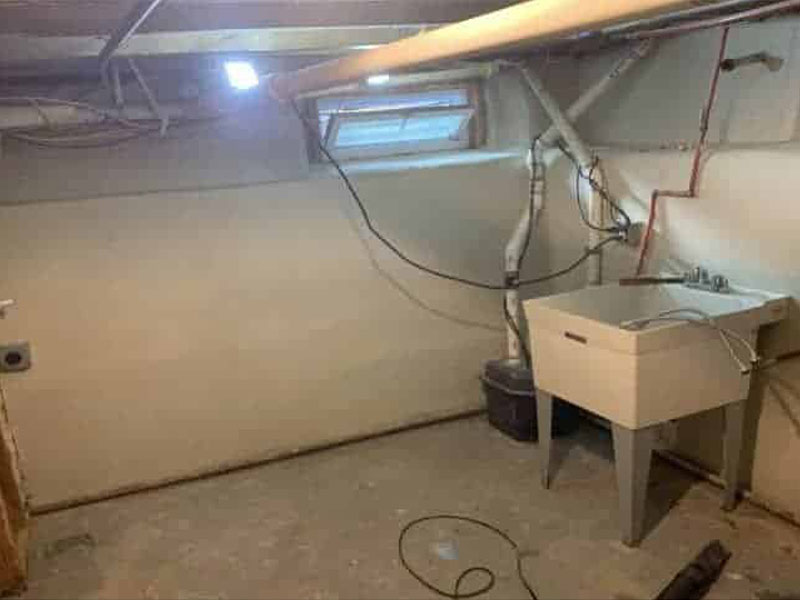
After
The Problem
The basement had old crumbling walls that enabled water to seep in and pool on the floor. Basement has typically 2 inches of water with major rain.
Basement had issues of mold and damp smells.
The Solution
Zavza Seal team grinded the walls to remove old plaster and paint and and applied waterproofing cement in order to waterproof the walls and ensure the structure is water tight.
Project: Bilco Doors and Steps
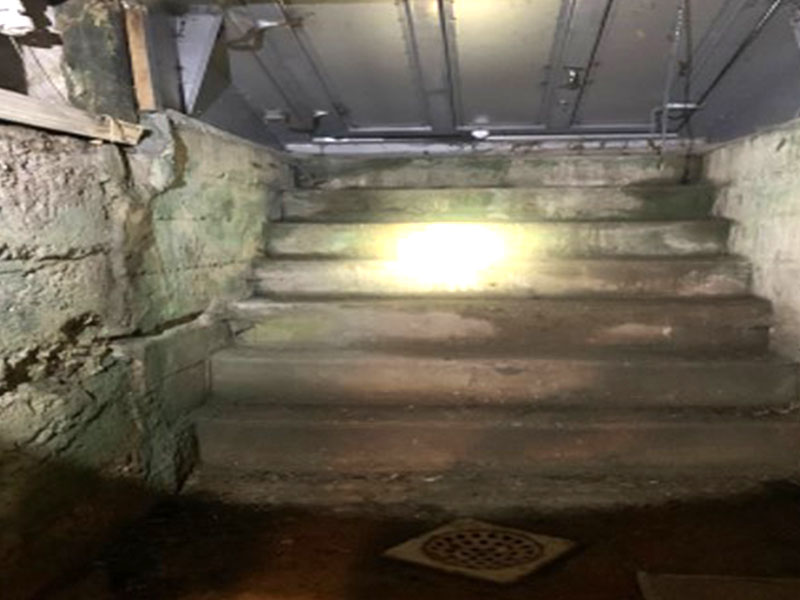
Before
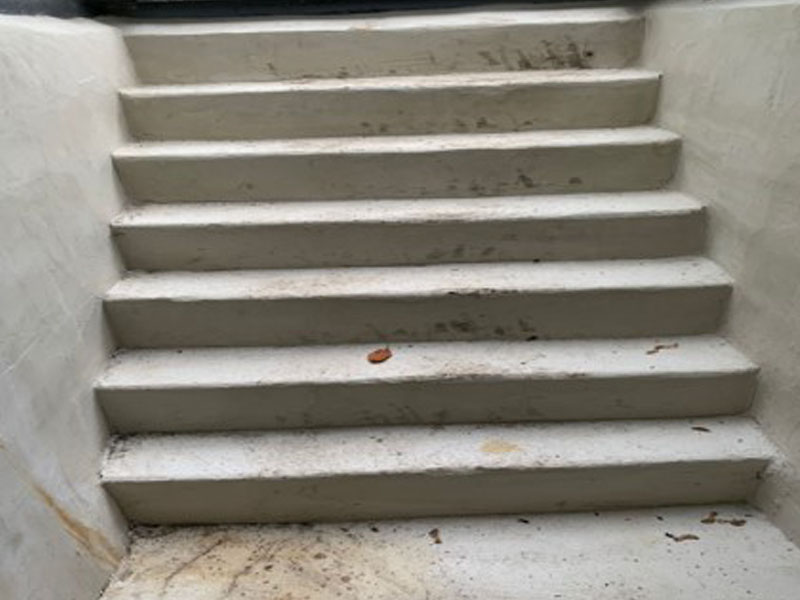
After
The Problem
Stair case going down from Bilco doors was in disrepair and crumbling and had a crack. Water seeping from side walls into the basement.
The Solution
Zavza Seal team grinded the walls to remove old plaster and paint and and applied waterproofing cement in order to waterproof the walls and steps and ensure the structure is water tight.
Project: Foundation Concrete Crack Repair
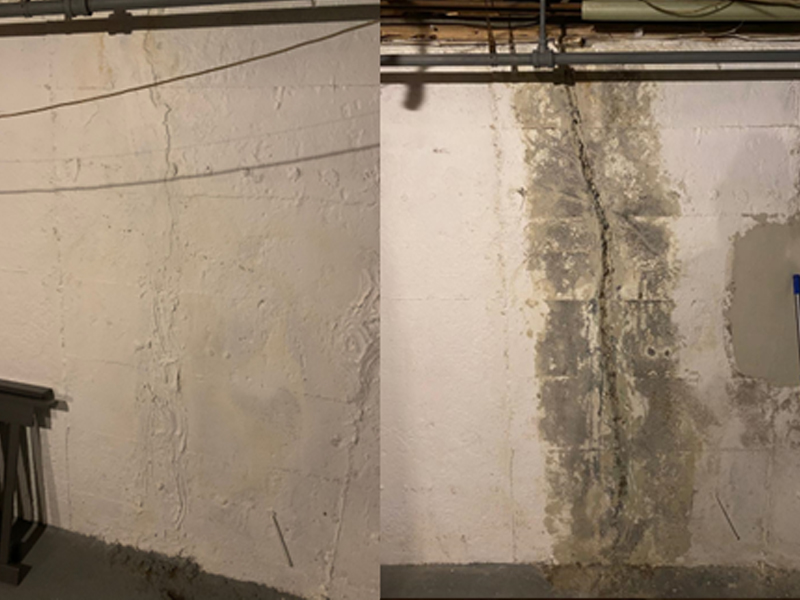
Before
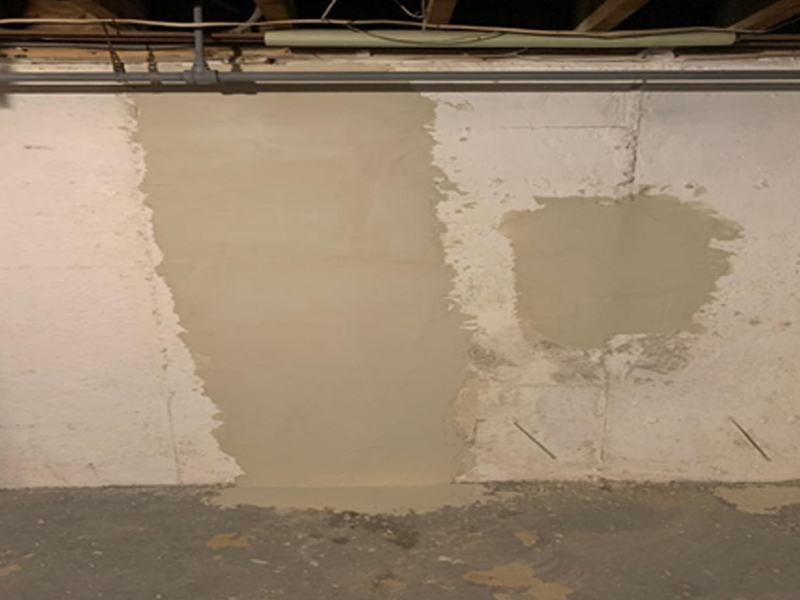
After
The Problem
The basement external facing wall had a 6 ft vertical foundation crack that was 3” deep. It was covered with Drylok that did not prevent water from seeping in. If left untreated it would have compromised the foundation of the house.
The Solution
We grinded the walls removed the Drylok, injected epoxy and covered with waterproofing cement to waterproof the walls.
Project: Foundation Concrete Crack Repair v2
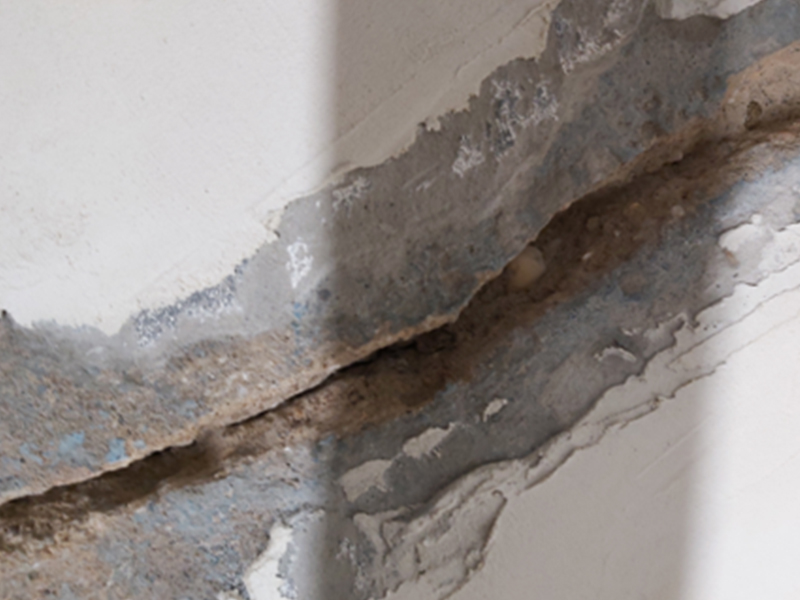
Before
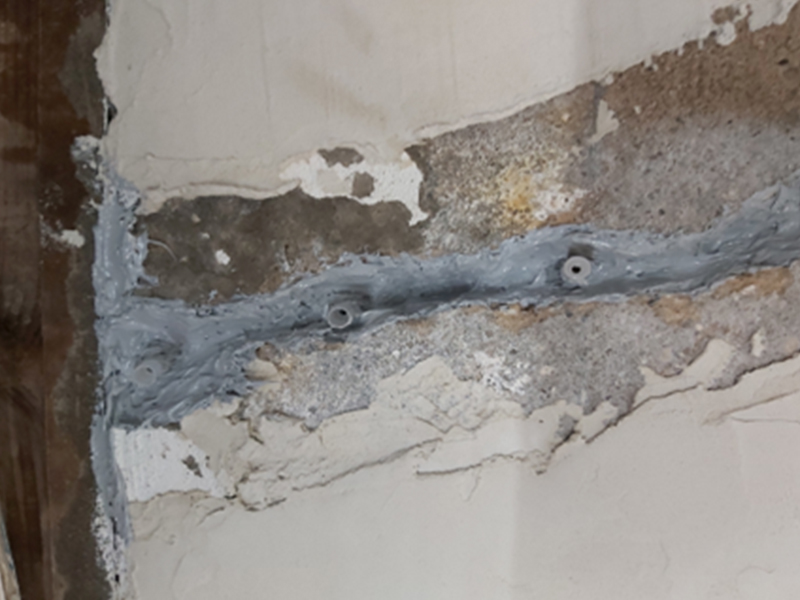
After
The Problem
The basement external facing wall had a 6 ft vertical foundation crack that was 3” deep. If left untreated would have compromised the foundation of the house.
The Solution
Our team grinded the walls, cleaned the cracks and injected epoxy.
Once dry we covered the crack with waterproofing cement.
Once dry we covered the crack with waterproofing cement.
Project: Crawl Space Repair and Insulation
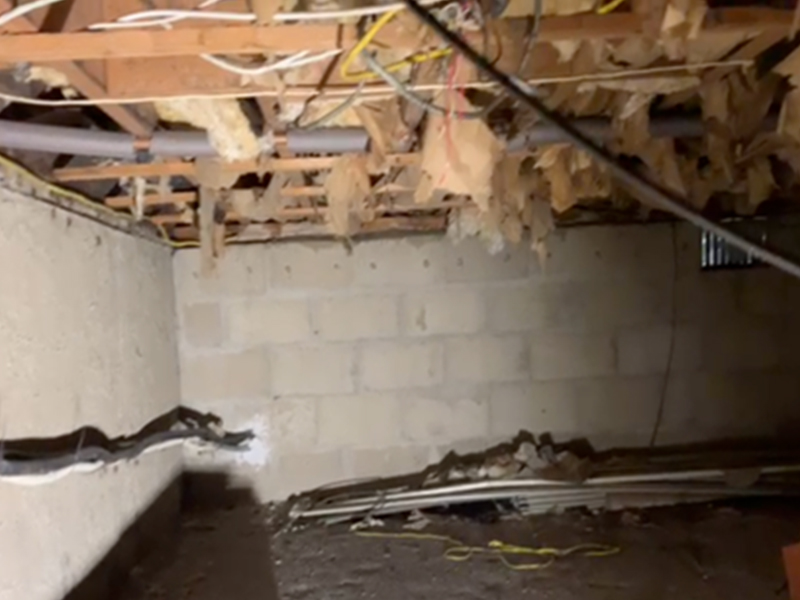
Before
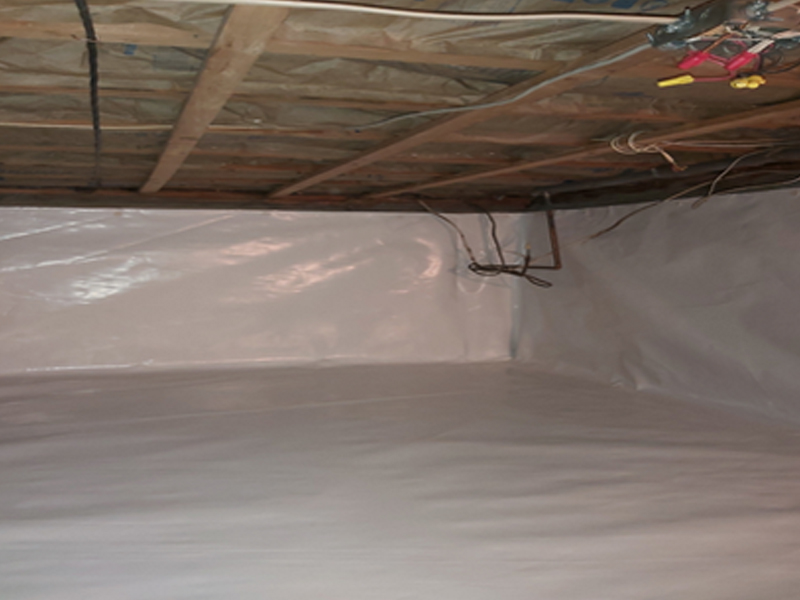
After
The Problem
The crawl space beneath the house was damp and and the old insulation was enabling cold air to transfer into the house. Musty odors were penetrating the living spaces above the crawl space.
The Solution
- Clean out all the debris and removed the old insulation.
- Densify the walls and floor with Intercept densifier to strengthen the concrete, then waterproof the walls and the floor with waterproofing cement.
- Install new insulation between the floor joists..
- Install a high performance vapor barrier.
Project: Exterior Foundation Waterproofing
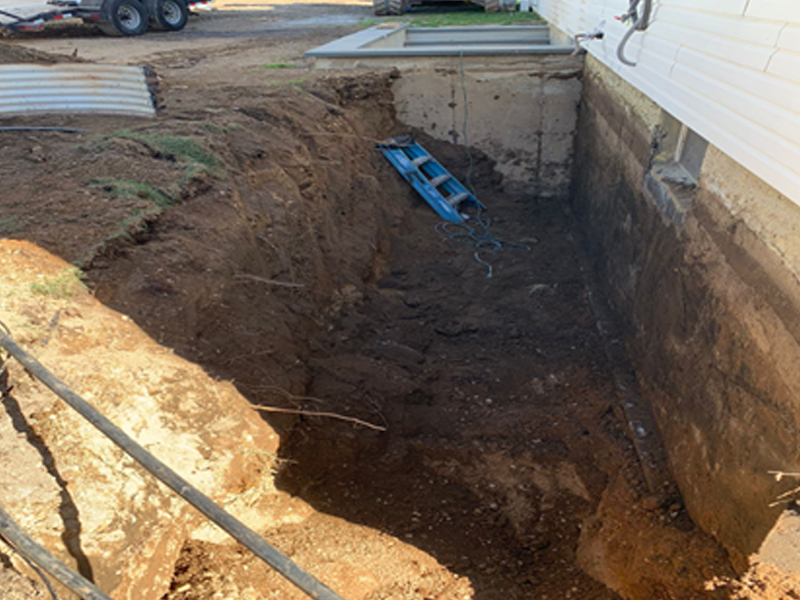
Before
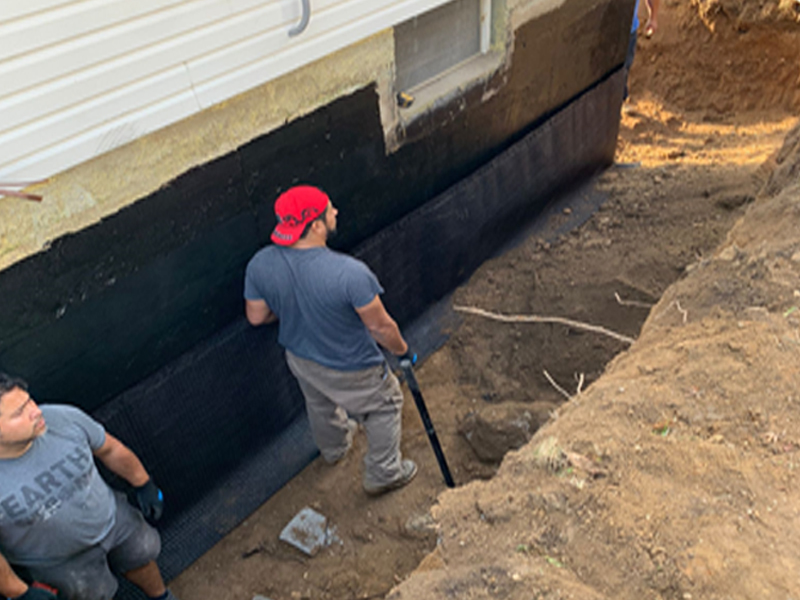
After
The Problem
Water was seeping in through the soil and penetrating the foundation walls through small cracks into the basement.
The Solution
- Excavate a trench down to the footing (approx. 6-7 feet deep).
- Power wash and clean the exterior foundation, repair all cracks and holes with waterproofing cement, seal and waterproof.
- Join foundation walls and the footing with reinforced 4.5oz of fiberglass mesh.
- Extend all 4 downspouts down into the ground, and channel the water to an underground dry well.
