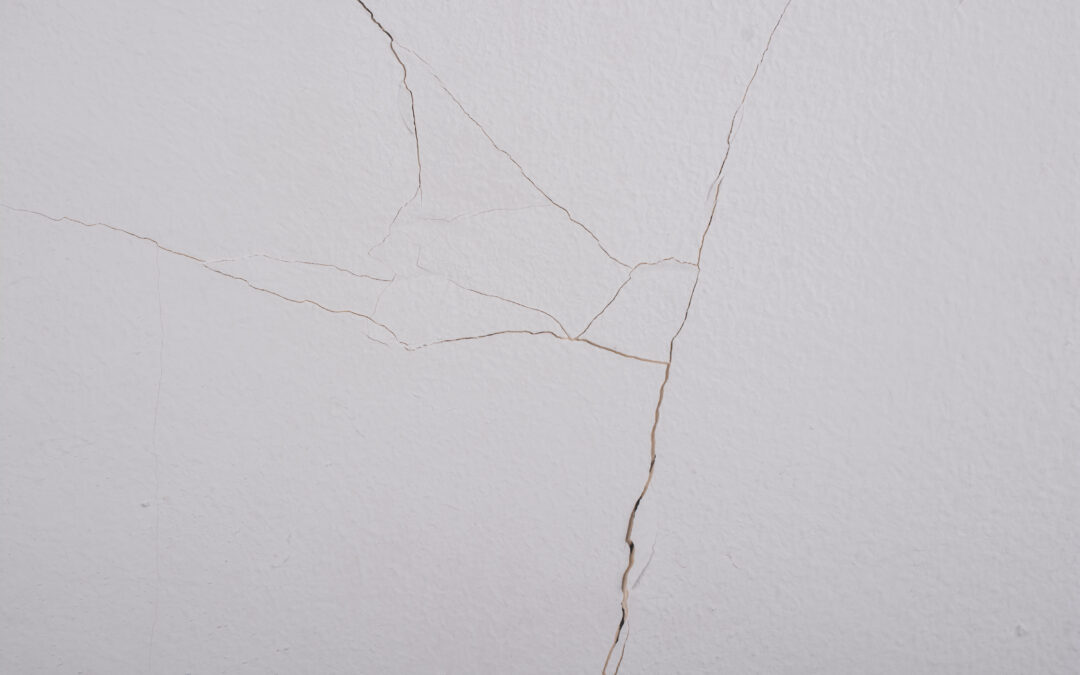
Ceiling cracks can be an eyesore and a source of concern for homeowners. While some cracks are superficial, others might indicate underlying structural issues. Whether you’re in Long Island, Brooklyn, or Queens, addressing these problems promptly can save you from costly repairs down the line. In this blog, we’ll guide you through how to repair ceiling cracks, identify their severity, and ensure your ceiling looks as good as new.
Understanding Ceiling Cracks: How Bad Is a Crack in the Ceiling?
Cracks in the ceiling can stem from various causes, including natural settling of your home, moisture issues, or even structural damage. Before jumping into repairs, it’s essential to assess the crack:
- Hairline Cracks: These are thin and often due to normal settling. They are typically cosmetic and easy to repair.
- Wide or Bulging Cracks: These could indicate water damage or structural issues and require immediate attention.
- Cracks with Stains: Often a sign of moisture problems that need to be addressed before repairing the ceiling.
How to Fix a Cracked Ceiling: Step-by-Step Guide
Here’s a straightforward process to repair most types of ceiling cracks:
1. Gather Your Materials
To fix ceiling cracks, you’ll need:
- Drywall compound or spackle
- A putty knife
- Sandpaper
- Drywall tape (for larger cracks)
- Paint and primer to match your ceiling
- Safety goggles and a drop cloth
2. Prepare the Area
- Protect Your Space: Lay down a drop cloth to catch debris.
- Clean the Crack: Use a utility knife to remove any loose material. For deeper cracks, widen them slightly to ensure proper adhesion of the filler.
3. Repair the Crack
- For Small Cracks: Apply a layer of drywall compound using a putty knife, smoothing it over the crack. Let it dry completely.
- For Larger Cracks: Use drywall tape to cover the crack before applying the compound. This step reinforces the repair and prevents future cracking.
4. Sand and Smooth
Once the compound is dry, sand the area with fine-grit sandpaper until it’s flush with the surrounding ceiling.
5. Prime and Paint
Apply a coat of primer to seal the repair, then paint to match your ceiling. This final step ensures a seamless finish.
How to Repair Cracks in Ceiling: Special Cases
If you’re dealing with specific challenges, these tips can help:
Cracked Drywall Ceilings
- How to Fix Cracks in Drywall Ceiling? Use a flexible joint compound to allow for natural movement in the drywall. Reinforce with tape for long-term results.
Sagging or Buttoned Ceilings
- How to Button a Cracked Ceiling? For ceilings that sag or “button,” secure loose areas with drywall screws before applying tape and compound.
When to Call the Professionals
While DIY repairs work for minor issues, cracks caused by structural problems, water damage, or persistent recurrence require professional evaluation. At Zavza Seal LLC, we specialize in assessing and repairing ceiling cracks, ensuring your home is safe and aesthetically pleasing. Whether you’re in Long Island, Brooklyn, or Queens, our team has the expertise to handle any ceiling repair challenges.
Preventing Future Ceiling Cracks
- Address Moisture Issues: Ensure your roof and plumbing are leak-free.
- Control Humidity: Use dehumidifiers to prevent drywall expansion and contraction.
- Routine Maintenance: Inspect your home regularly to catch problems early.
We offer:
- Comprehensive inspections to determine the cause of cracks.
- Tailored solutions to repair and prevent future damage.
- Expertise in handling residential and commercial properties across Long Island, Brooklyn, Queens & Bronx.
Don’t let ceiling cracks disrupt your home’s beauty or safety. Contact Zavza Seal LLC today for reliable and efficient ceiling crack repairs.
FAQs
Q: How bad is a crack in the ceiling?
A: It depends on the type of crack. Hairline cracks are usually harmless, but wide or stained cracks may indicate structural or moisture issues.
Q: How to button a cracked ceiling?
A: Secure sagging areas with drywall screws before repairing the crack with tape and compound.
Q: How to fix cracks in drywall ceiling?
A: Clean the crack, apply drywall compound, reinforce with tape, sand it smooth, and paint.
Q: How to repair cracks in ceiling with water stains?
A: Address the water source first, let the area dry, and then repair the crack using drywall compound and primer.
Q: How to fix a cracked ceiling permanently?
A: Use a high-quality joint compound, reinforce larger cracks with tape, and address underlying issues like moisture or settling.
By following these steps and tips, you can tackle ceiling cracks with confidence. If you need assistance, Zavza Seal LLC is here to help, call for a free estimate today!
Get A Free Estimate
Related Blog Posts:
- Effective Rainwater Management Techniques for Protecting Your Foundation
- Buying a House with Foundation Problems and the Seller Won’t Pay?
- The Importance of Professional Foundation Repair and Waterproofing
- Do All Cracks Mean Foundation Problems?
- Don’t Ignore the Warning Signs: Cracked Foundation Repair
Get A Free Estimate

